
Adding Cover Text to Calendars
*Wall Calendars with cover text are only available on iOS SimplePrints app v 6.37.0
Adding cover text to your SimplePrints calendar just got easier! We've included step-by-step instructions below:
-
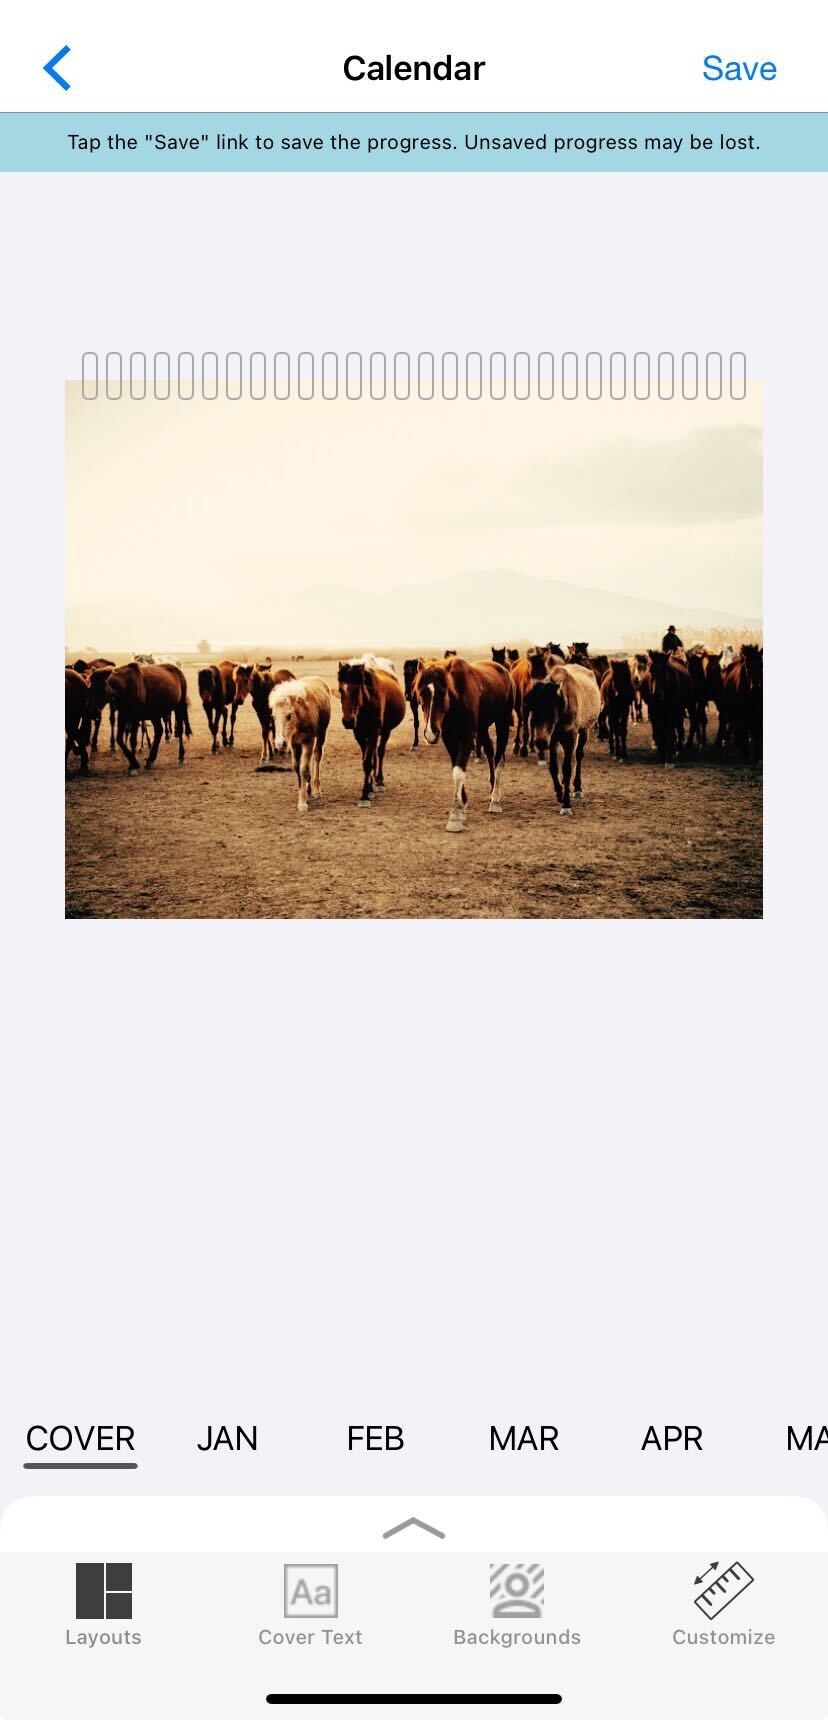
First, add a photo to your cover.
-
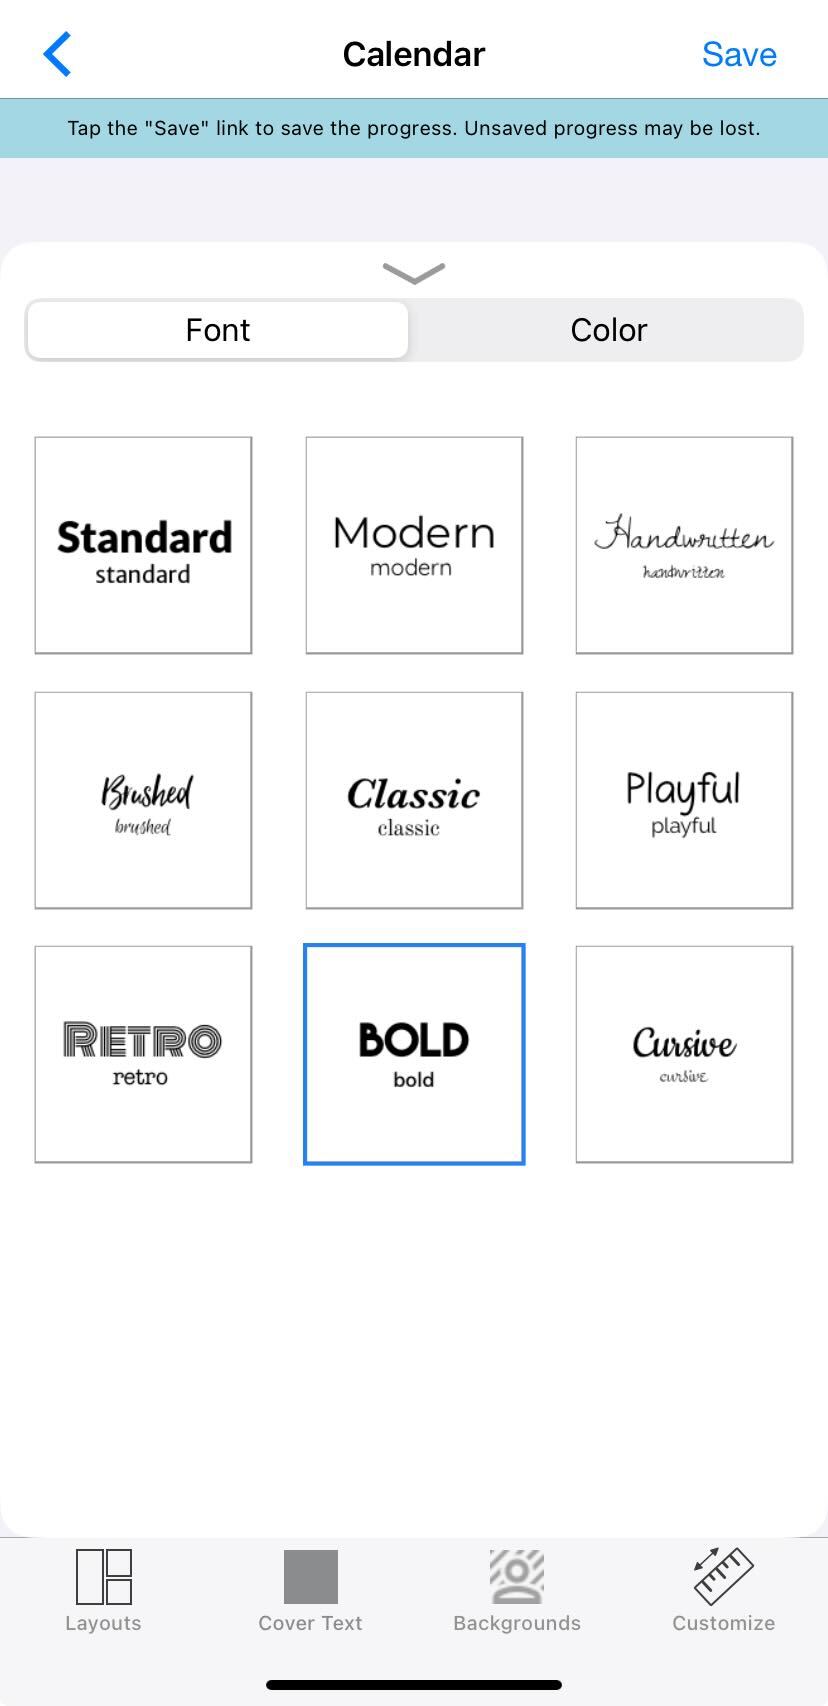
Next, tap Cover Text. From this screen, tap Font and then select the font you'd like for your cover text.
-
Next, tap Color and select the color you'd like for your cover text.
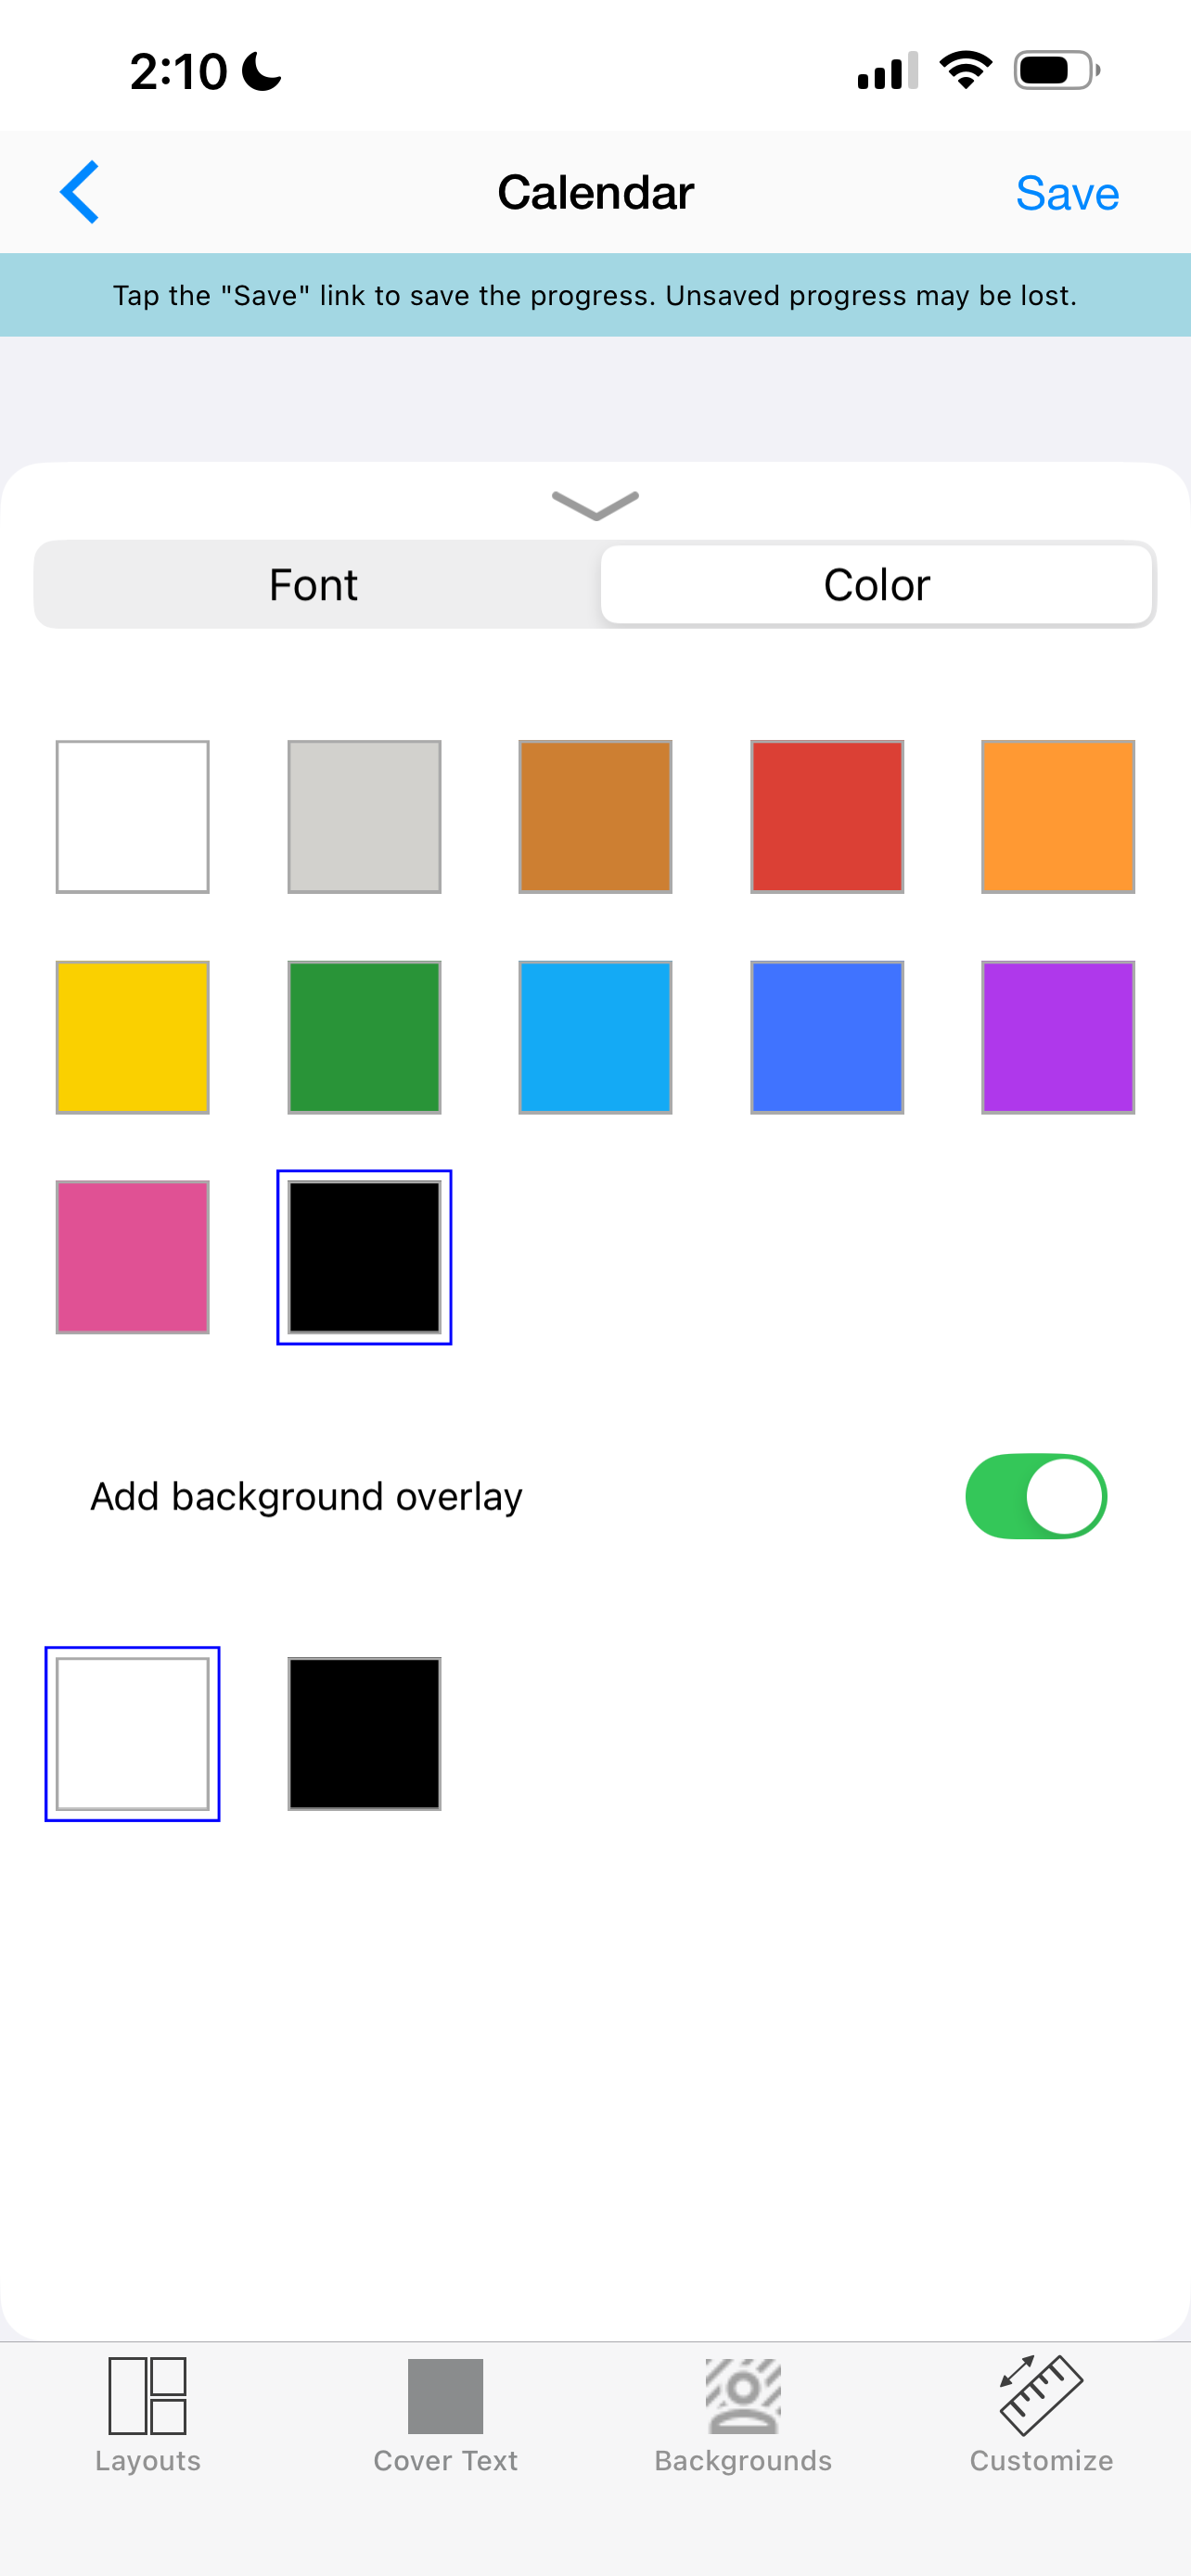
- Your cover text will default to include a white background overlay (shadow box). This can be edited to a black background overlay if you prefer by tapping on the black overlay option.


The examples below show a white background overlay over brown font on the left and a black background overlay over brown font on the right.
|
|
|


- You also have the option of removing the background overlay (or shadow box) if you prefer. Just tap on Cover Text > Color and toggle the Add background overlay to the off position.

- When you are finished selecting your cover text options, tap the down arrow to close the menu and, once you have returned to the calendar cover, type in your cover text.
You can adjust the placement of the cover text by tapping and holding and moving it up or down on the cover. You can adjust the text size by using the slider when editing the text.

- Tap Save in the top right to save your progress and return to your calendar to continue editing.
